How to Interpret a Padel Court Diagram: Tips for Match Preparation
3 min read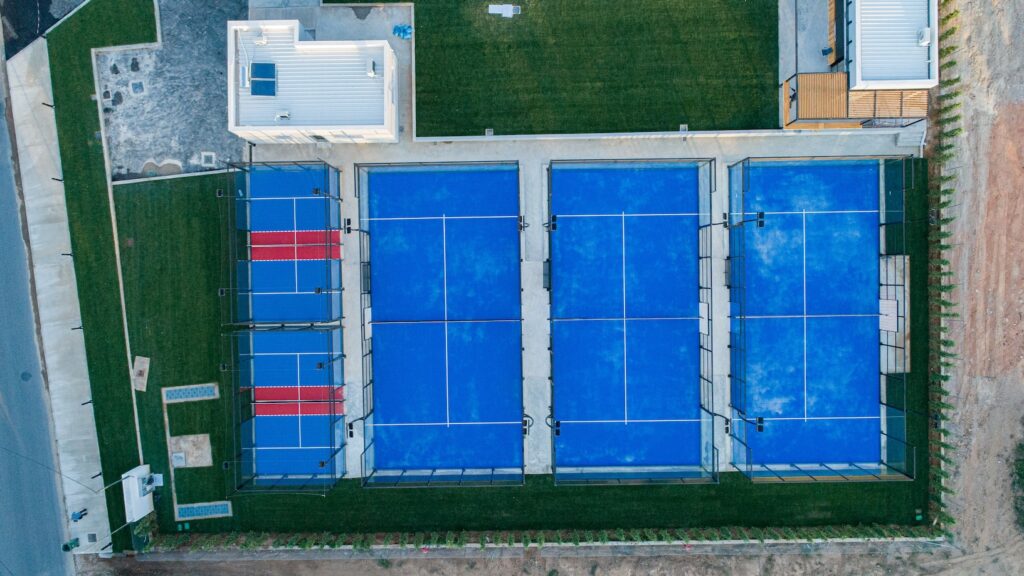
How to Interpret a Padel Court Diagram: Tips for Match Preparation
Are you gearing up for a padel match but feeling unsure about how to interpret the padel court diagram? Don’t worry, you’re not alone! Even experienced players can sometimes get confused by the layout of the court. But with a little bit of practice and understanding, you’ll be able to master the padel court diagram in no time!
So, let’s dive into some tips for interpreting the padel court diagram and preparing for your next match.
Understanding the Basic Layout
Before we get into the specifics of the padel court diagram, let’s go over the general layout of a padel court. A padel court is a rectangular area that’s divided into two halves by a net. The dimensions of the court are 20m x 10m, which is about one-third the size of a tennis court.
Now, let’s take a closer look at the padel court diagram.
Breaking Down the Diagram
The padel court diagram may seem overwhelming at first, but it’s actually pretty straightforward once you understand what each part represents.
Starting from the back of the court, you’ll see the back wall, which is marked in red. The back wall is where players can hit the ball when it bounces off the back after a shot.
Moving forward, you’ll see the service line, which is marked in green. This is where the ball must bounce when serving.
Next up is the net, marked in black. The net is divided into two halves–the right service area and the left service area. Each half is further divided into two boxes–the service box and the volley box.
On either side of the net, you’ll see the right and left side walls, marked in blue. These are where players can hit the ball after it bounces off the side wall.
And finally, in front of the net, you’ll see the no-volley zone, also known as the kitchen. This is the area where players are not allowed to hit the ball unless it has bounced in this zone.
Putting it All Together
Now that you understand the different parts of the padel court diagram, it’s time to put it all together and make sense of it.
During a match, players will be constantly moving around the court, hitting the ball and trying to avoid making mistakes. By understanding the layout of the court and the different areas where the ball can bounce, you’ll be able to anticipate where your opponent’s shots will go and position yourself accordingly.
For example, if your opponent hits a shot off the back wall, you’ll know to move back and get ready to hit it as it bounces back towards you. Or if they hit a shot off the side wall, you’ll know to move to that side to retrieve the ball.
And don’t forget about the no-volley zone! This area is key for controlling the pace of the game and setting up winning shots. By staying out of the kitchen and hitting shots that force your opponent to hit the ball from this zone, you can gain a significant advantage.
Practice Makes Perfect
Interpreting a padel court diagram may seem overwhelming at first, but with practice, it will become second nature. The more you play, the more you’ll start to understand how the different parts of the court work together and how to use them to your advantage.
So, get out there and start playing! With these tips for interpreting the padel court diagram, you’ll be well on your way to winning your next match.
Remember, the key is to stay calm, stay focused, and have fun! Good luck out there on the court.


