Unlock Your Dream Home Addition: A Step-by-Step Guide on How to Build a Padel Court
3 min read
Unlock Your Dream Home Addition: A Step-By-Step Guide on How to Build a Padel Court
Are you a padel enthusiast looking to take your passion to the next level? Imagine having your very own padel court in your backyard, where you can enjoy countless hours of fun and friendly competition with your family and friends. Building a padel court may seem like a daunting task, but with the right guidance, it can become a rewarding project that unlocks a world of excitement right at your doorstep.
Step 1: Design and Planning
The first step to building your dream padel court is designing and planning. Consider factors such as available space, dimensions, orientation, and your budget. It’s essential to measure the area accurately to ensure you have enough space for the court’s proper installation.
Take a moment to envision your padel court and consider any special features or landscaping elements you may want to incorporate. This is your chance to customize it to your liking and truly make it your dream home addition.
Step 2: Preparing the Ground
Before the construction begins, you need to prepare the ground. Start by clearing the area of any debris, rocks, or plants. Level the ground to ensure a smooth and even surface for your court. A flat and well-prepared base is crucial for the best playing experience.
Don’t forget to mark the dimensions of the court using spray paint or chalk. This will help you visualize the space and ensure everything is in the right place.
Step 3: Building the Court
Now comes the exciting part – building the actual court. It’s highly recommended to consult with professionals at this stage to guarantee the best results. They will guide you through the process, from the selection of materials to the actual construction.
The foundation of a padel court usually consists of concrete or asphalt. Professionals will lay this base and ensure it adheres to the specific dimensions and specifications of a padel court. They will also handle the fencing installation, allowing for maximum safety and optimal play.
Step 4: Surface and Finishing Touches
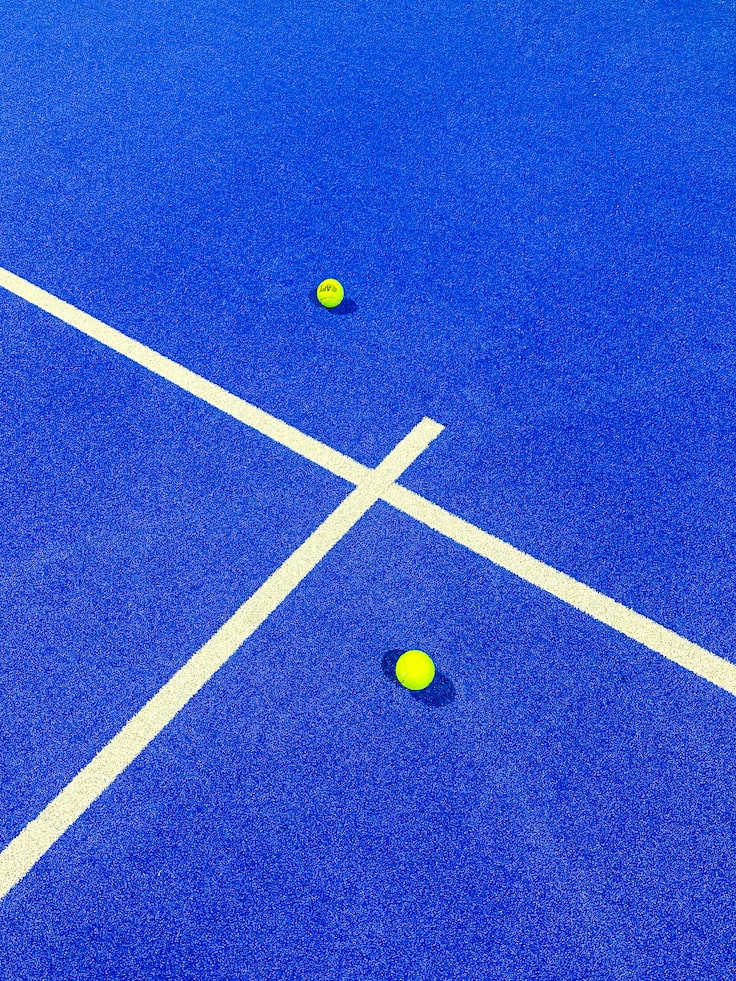
Once the foundation and fencing are in place, it’s time to add the finishing touches. The surface of a padel court can vary, but artificial grass or synthetic turf is the most common choice. This type of surface provides excellent playability and requires minimal maintenance.
Add lines and markings to the court using high-quality paint, ensuring they are accurate and compliant with the official padel regulations. Additionally, consider installing lighting systems to extend your playing hours and enhance the overall atmosphere of your padel court.
Step 5: Enjoy Your New Padel Court!
Congratulations! You’ve successfully built your very own padel court. Now it’s time to grab your racquet, gather your friends and family, and enjoy endless hours of fun on your new home addition.
Remember to maintain your padel court properly to ensure its longevity and optimal performance. Regular cleaning, occasional brushing, and addressing any minor repairs promptly will keep your court in top shape for years to come.
Building a padel court is an investment that not only adds value to your property but also brings joy, fitness, and endless entertainment into your life. So, don’t wait any longer. Unlock your dream home addition and start building your very own padel court today!


