Unleash Your Inner Athlete: Learn How to Build a Padel Court in Your Backyard
3 min read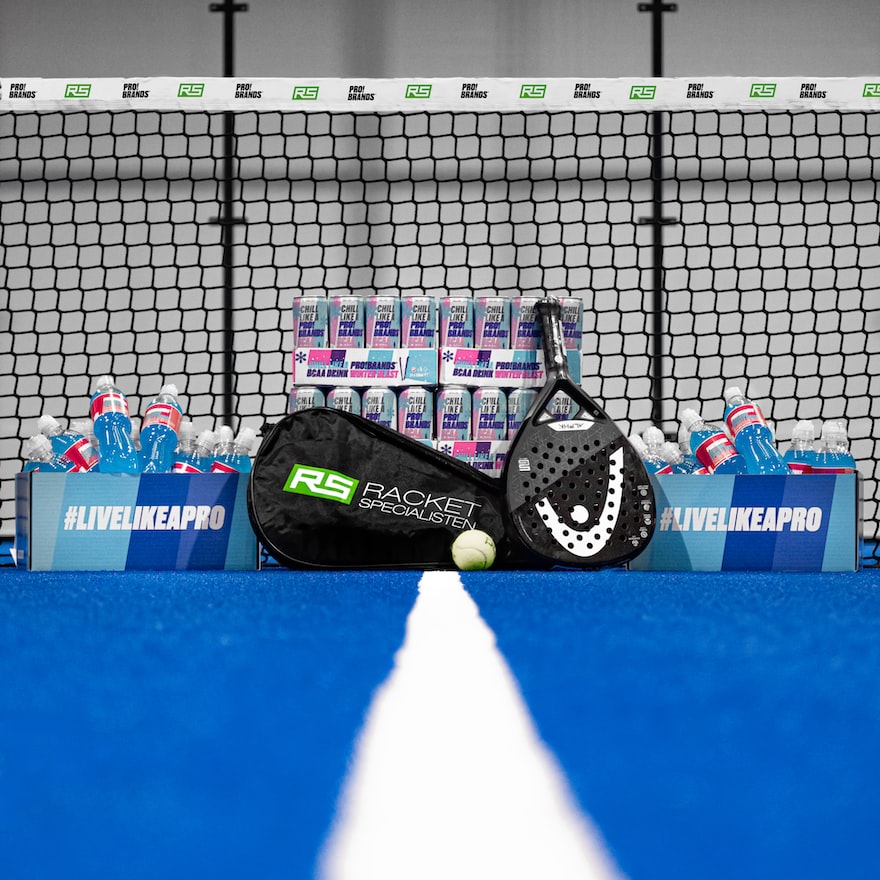
Unleash Your Inner Athlete: Learn How to Build a Padel Court in Your Backyard
Are you ready to take your backyard to a whole new level and unleash your inner athlete? If so, then building a padel court could be the perfect project for you! Padel is a fast-paced and exciting sport that combines elements of tennis and squash. It’s gaining popularity all over the world, and now you can bring the action right to your own backyard. So, grab your rackets and let’s dive into the world of padel court construction.
Start with the Basics
Before we jump into the construction process, let’s cover the basics of a padel court. A standard padel court is 20 meters long and 10 meters wide, enclosed by 3-meter high glass walls. The playing surface is made of artificial grass or artificial turf, providing a consistent bounce for an intense game. You’ll also need a mesh fence surrounding the court to keep those stray balls from interrupting your game next door!
Now that we have the basic dimensions in mind, it’s time to move on to the construction process.
Step 1: Prepare the Ground
The first step in building your padel court is to prepare the ground. Clear the area of any obstructions, such as rocks or tree roots, and level the surface as much as possible. This will ensure a smooth playing field and prevent any injuries from uneven footing.
Step 2: Lay the Foundation
Next, it’s time to lay the foundation for your padel court. This typically involves pouring a concrete slab that will serve as the base for your court. Make sure to consult with a professional on the appropriate thickness and reinforcement needed for the concrete, as it will need to withstand the weight and impact of the players.
Step 3: Install the Glass Walls
Now comes the most exciting part – installing the glass walls that will enclose your padel court. These walls are what truly set padel apart from other sports. The transparency of the glass allows for unobstructed views of the game and adds a touch of elegance to your backyard. Hiring professionals for this step is highly recommended, as it requires precise measurements and installation techniques to ensure safety and durability.
Step 4: Lay the Playing Surface
With the foundation and walls in place, it’s time to lay down the playing surface. As mentioned earlier, you can choose between artificial grass or artificial turf. Both options offer excellent performance and durability, so it ultimately comes down to personal preference. Make sure to properly secure and align the surface to prevent any wrinkles or unevenness that could affect gameplay.
Step 5: Add the Finishing Touches
Congratulations! You’ve nearly completed your padel court. The final step is to add the finishing touches. This includes installing the mesh fence around the glass walls to keep those wild shots contained. You may also want to consider adding some seating areas, lighting, and even a scoreboard to enhance your playing experience.
Now It’s Game Time!
With your brand new padel court complete, it’s time to gather your friends and family and unleash your inner athlete. Padel is a game that anyone can enjoy, regardless of age or skill level. So, get ready to improve your reflexes, burn some calories, and have a blast in your very own backyard.
Building your own padel court might seem like a daunting task, but with careful planning and professional assistance, it can become a reality. So, why wait? Get started on your padel court project today and take your backyard to a whole new level of fun and excitement!


