Step-by-Step: Repairing Your Padel Bag Like a Pro
3 min read
Step-by-Step: Repairing Your Padel Bag Like a Pro
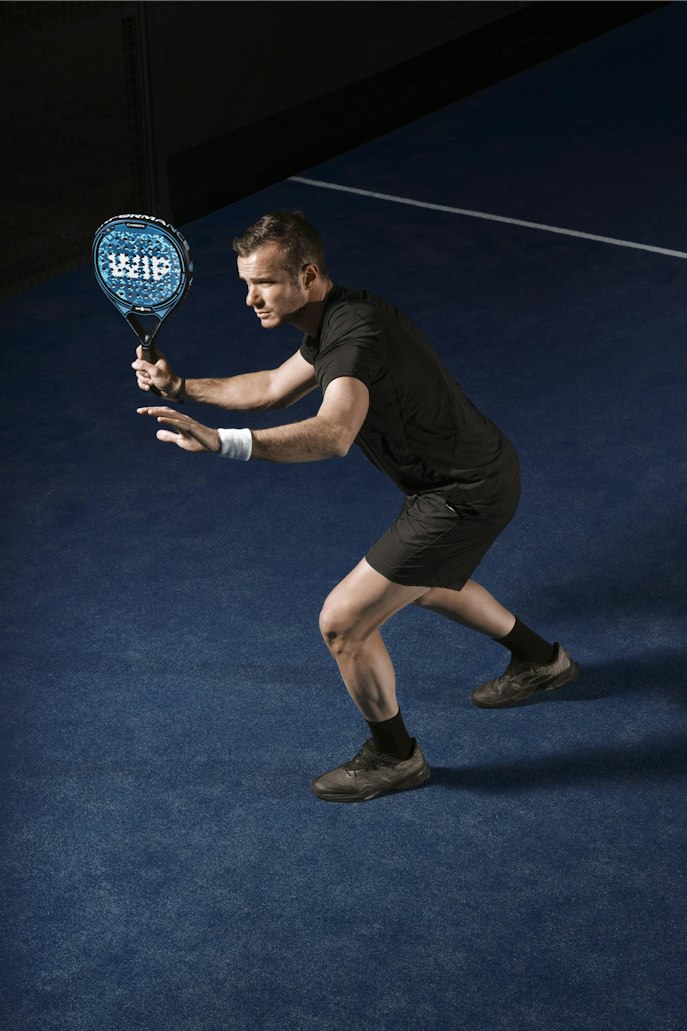
Greetings, fellow padel enthusiasts! We all know the feeling of having a worn-out or damaged padel bag. It can be frustrating, especially when you have all your gear neatly organized inside, ready for your next thrilling match. Well, fear not! In this step-by-step guide, we will show you how to repair your beloved padel bag like a true pro, so you can keep enjoying the game without any worries. So grab your tools and let’s get started!
Step 1: Assess the Damage
Before you jump into the repair process, take a moment to carefully assess the damage. Is it just a small tear, or is it a more significant issue? Understanding the extent of the damage will help you determine the best approach for repairing your padel bag.
Step 2: Gather Your Tools
To repair your padel bag effectively, you’ll need a few essential tools. Make sure you have a sturdy sewing needle, heavy-duty thread that matches your bag’s color, a pair of sharp scissors, and some patches or fabric scraps that blend well with your bag. With these tools on hand, you’ll be ready to tackle any repair job!
Step 3: Prepare the Bag
Clean your padel bag thoroughly, removing any dirt or debris around the damaged area. This will ensure a better bond when you start repairing. If the tear is on the inside lining, it’s a good idea to empty the bag and turn it inside out for easier access.
Step 4: Sewing Time!
This is where your sewing skills will shine! Thread your needle with the heavy-duty thread, making sure it’s securely tied. Start sewing from the inside of the bag, so the repair is less visible from the outside. Use small, closely spaced stitches to create a strong bond. Make sure to pull the thread tightly after each stitch, but be cautious not to overdo it and pull too hard, as it might result in further damage.
Step 5: Reinforce with Patches
If you want extra durability or if the tear is extensive, reinforcing the repaired area with patches is a great idea. Cut a small piece of patch fabric that covers the damaged area comfortably. Apply a thin layer of fabric glue to the back of the patch and carefully position it over the repaired section. Press firmly to ensure it sticks properly. Let it dry according to the glue manufacturer’s instructions.
Step 6: Trim Excess Thread and Fabric
Once your repair job is complete, it’s time to tidy things up. Use your sharp scissors to trim any excess thread or fabric, giving your padel bag a clean and professional finish.
Step 7: Test Your Repair
Finally, take your newly repaired padel bag for a spin! Load it up with your gear and give it a little shake to make sure everything holds together nicely. If the repair feels solid and secure, congratulations, you did it! Your padel bag is ready to hit the courts once again.
Remember, practice makes perfect, so don’t be discouraged if your first attempt isn’t flawless. The more repairs you do, the better you’ll become at restoring your padel bag to its former glory.
So, whether it’s a small tear, a broken zipper, or a worn-out handle, you now have all the knowledge to repair your padel bag like a true pro. Follow these step-by-step instructions, and soon enough, you’ll be the go-to expert among your padel buddies for bag repairs. Stay safe, have fun, and keep playing!