Padel Gear Maintenance: Step-by-Step Guide to Tighten a Loose Grip
3 min read
Padel Gear Maintenance: Step-by-Step Guide to Tighten a Loose Grip
The Importance of a Secure Padel Grip
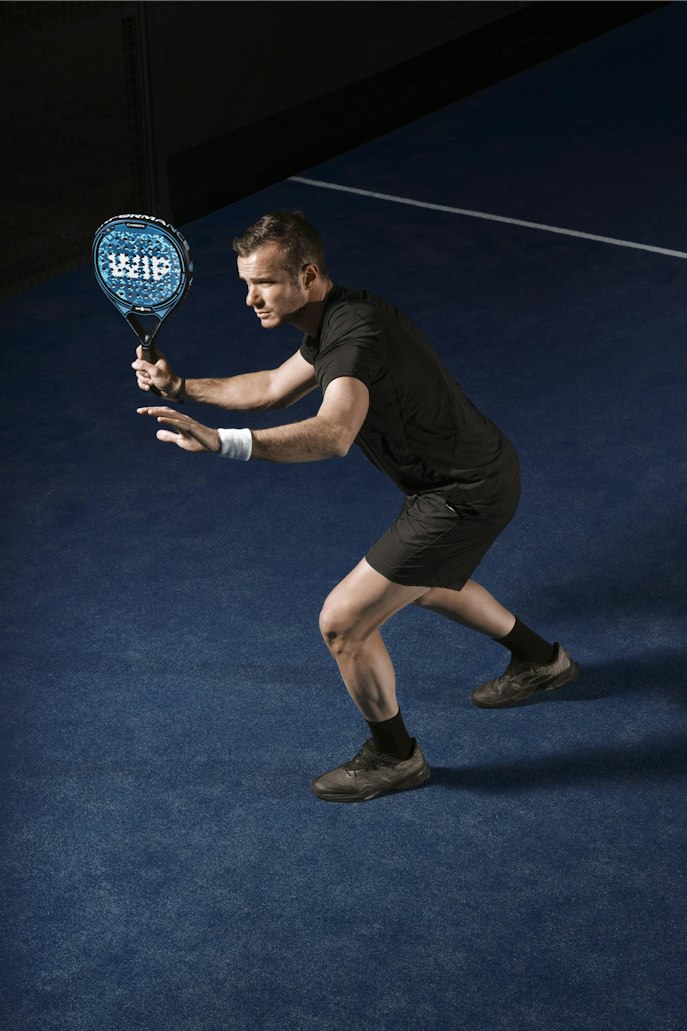
Welcome, fellow padel enthusiasts! Today, we’re going to dive into the world of gear maintenance and explore a fundamental skill every padel player should possess: tightening a loose grip. Imagine yourself on the court, ready to unleash your killer shots, only to be hindered by a wobbly, unstable paddle. That’s when the importance of a secure padel grip becomes glaringly evident. Fear not, for in this step-by-step guide, we will equip you with the knowledge to fix this problem swiftly and get back in the game!
The Telltale Signs of a Loose Padel Grip
Before we jump into the nitty-gritty of tightening our grip, it’s essential to recognize the signs of a loose padel grip. If you notice your paddle twisting in your hand during powerful shots or if your grip is slipping on those tricky lobs, then my friend, it’s time to take action. The good news is that tightening a loose padel grip is surprisingly simple and doesn’t require any fancy tools or expert knowledge.
A Step-by-Step Guide to Tighten a Loose Padel Grip
Step 1: Assess the situation – Before we dive in, make sure you have a sturdy work surface and adequate lighting. You’ll want to examine your paddle closely to determine the extent of the grip’s looseness. A quick wiggle and squeeze of the paddle should give you a good idea of how much adjustment is needed.
Step 2: Remove the old grip – Now that we have our bearings, let’s get down to business. Start by gently peeling off your old padel grip. Take your time and work your way around, ensuring you remove it entirely. This step can feel oddly satisfying, like stripping away layers to reveal a fresh, new surface ready for action!
Step 3: Prepare the paddle – With the old grip out of the picture, it’s time to prepare the padel paddle for its new coat of armor. Take a moment to wipe down the handle, removing any dirt or debris that may have accumulated over time. This ensures that our grip adheres firmly and smoothly to the surface.
Step 4: Apply the grip – Here comes the fun part – choosing a new padel grip! There are myriad options out there in terms of color, texture, and thickness, so take your time to find one that suits your preferences. Once you’ve found your perfect match, carefully unroll the grip, positioning the starting end at the base of the handle. Slowly wrap it around the grip, maintaining tension as you go, until the entire handle is covered.
Step 5: The finishing touch – Congratulations, you’ve successfully tightened your padel grip! But let’s not be hasty; we want this grip to last. To ensure longevity, finish off by securing the end of the grip with adhesive tape or a grip finishing tape. This prevents any unruly fraying and gives your paddle a professional touch.
Tighten Your Grip, Sharpen Your Game
With your padel grip tightened and your paddle feeling stable once more, you’ll be able to focus on what truly matters – your game! Remember, a secure grip not only enhances your control but also reduces the risk of injury. So, the next time you find yourself battling a loose padel grip, fear not! Simply follow this step-by-step guide, and you’ll be back on the court with a firm grip in no time.
So, my comrades in the world of padel, go forth and tighten those grips! Stay tuned for more padel tips, tricks, and maintenance guides to elevate your game to new heights. How to tighten a loose padel grip will no longer be a mystery to you, but rather a skill you can easily master!