A Step-By-Step Guide to Changing Your Padel Grip
3 min read
A Step-By-Step Guide to Changing Your Padel Grip
Introduction
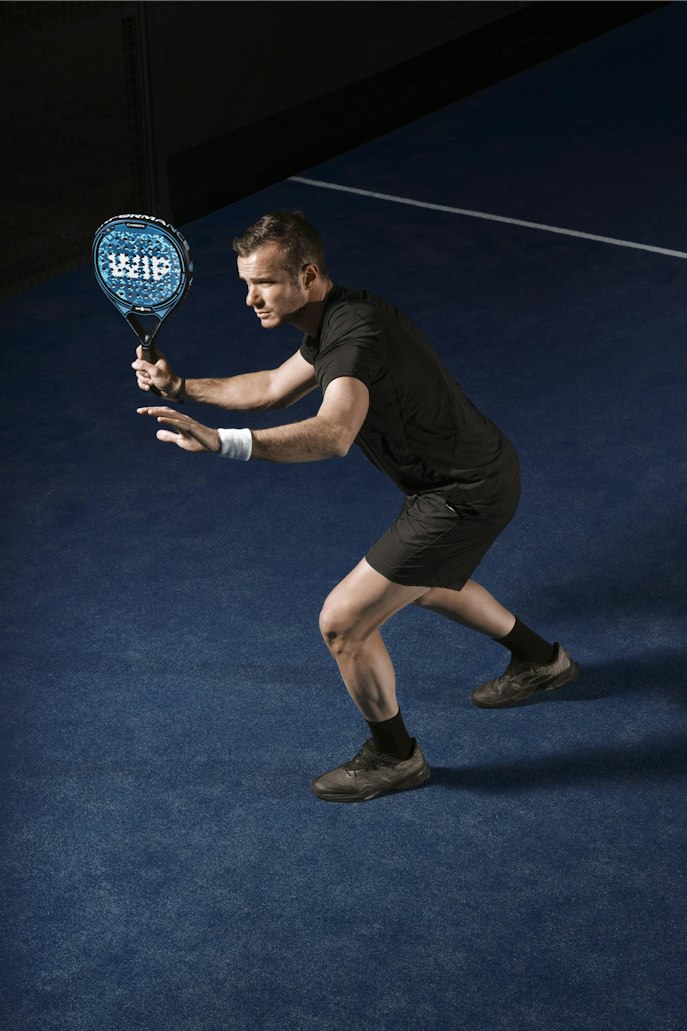
Welcome, fellow padel enthusiasts! If you’re reading this article, chances are you’re looking to spice up your game and give your racket a fresh feel. Well, you’ve come to the right place! Today, we’ll be taking you through a step-by-step guide on how to replace your padel grip. It’s a simple process that can make a world of difference in your playing experience. So, grab your racket and let’s get started!
Step 1: Gather Your Supplies
Before diving into the grip replacement process, it’s important to gather all the necessary supplies. You’ll need a new padel grip, a sharp knife or a grip remover tool, and some rubbing alcohol. Remember, a good quality padel grip will provide you with the right amount of comfort and grip during the game. Don’t be afraid to invest in one that suits your playing style.
Step 2: Remove the Old Grip
Now that you’ve got everything you need, it’s time to bid farewell to your old, worn-out grip. Using a sharp knife or a grip remover tool, carefully cut along the length of the grip until you can peel it off completely. Be cautious while doing this, as you wouldn’t want any accidental cuts. Once the old grip is removed, wipe down the handle with some rubbing alcohol to remove any residue.
Step 3: Prepare the New Grip
Now comes the exciting part, unveiling your brand new padel grip! Unroll it and find the tapered end (usually marked). Align this end with the butt cap of your racket handle. Slowly start wrapping the grip around the handle, ensuring a tight and even fit. Take your time with this step, as a well-wrapped grip will offer excellent control and prevent any slipping during intense matches.
Step 4: Secure and Finish Wrapping
Once you’ve wrapped the grip all the way to the top of the handle, secure it with a grip tape or adhesive that’s usually provided with the grip. This will keep it in place and prevent any unraveling. Make sure the grip isn’t too thick at the top, as it may interfere with your hand motion. Trim any excess grip material using the sharp knife if necessary.
Step 5: Finishing Touches
You’re almost there! Now, take a moment to admire your fresh padel grip. Give it a light stretch to ensure it’s securely attached and won’t budge during intense rallies. Take a deep breath and get ready to unleash your gameplay prowess with the brand-new grip.
Conclusion
Congratulations! You’ve successfully replaced your padel grip and are now ready to dominate the court with enhanced control and comfort. Remember, a well-maintained grip is essential not only for your gameplay but also for preventing injuries. So, whenever you notice signs of wear and tear, don’t hesitate to follow this step-by-step guide to replace your padel grip. Now go forth, dear padel enthusiasts, and enjoy the game like never before!