A Step-by-Step Guide: How to Build a Padel Court on a Budget
3 min read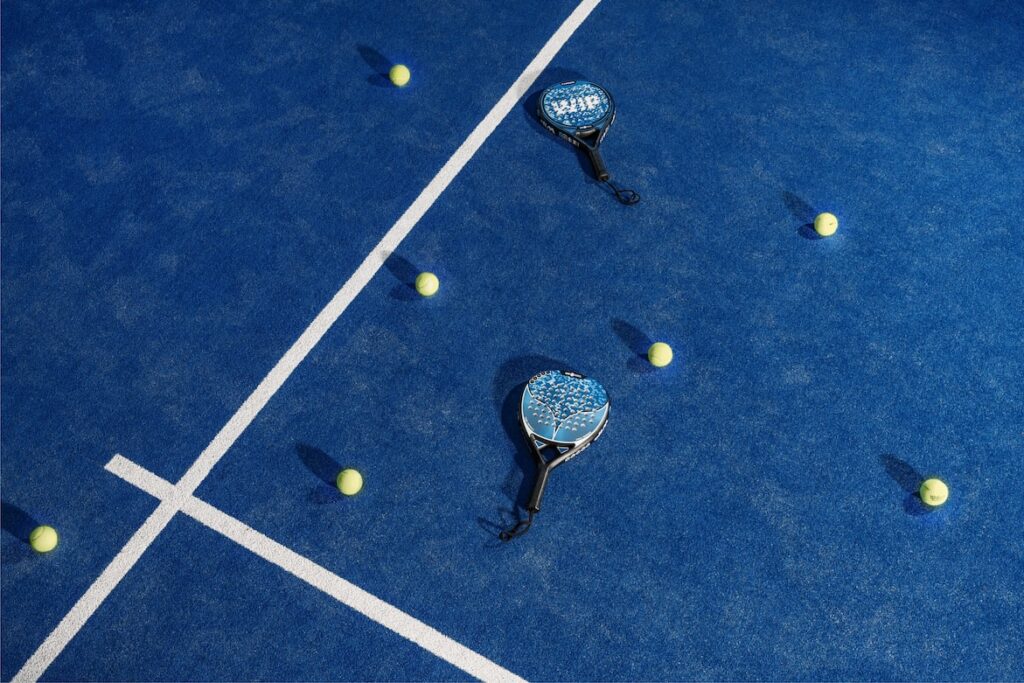
Building a Padel Court on a Budget: A Step-by-Step Guide
Whether you’re a passionate padel player or simply looking for a new outdoor activity, building your own padel court is an exciting and rewarding project. You don’t have to break the bank to enjoy this fantastic sport. In this step-by-step guide, we’ll walk you through the process of creating your very own padel court on a budget.
Step 1: Find the Perfect Location
Before starting the construction, you need to find an ideal spot for your padel court. Look for an area with enough space to accommodate the dimensions of a standard padel court, which is 10m wide and 20m long. Additionally, ensure that the area is flat and free from any obstacles.
Step 2: Marking the Court
Once you have your location, it’s time to mark out the boundaries of your court. You can use chalk or rope to outline the playing area accurately. Remember to measure the dimensions accurately to ensure a professional-looking padel court.
Step 3: Prepare the Ground
After marking the court, it’s important to prepare the ground for the construction process. Remove any organic matter, such as plants or rocks, and use a shovel or a tiller to loosen the soil. This will help ensure a solid foundation for your padel court.
Step 4: Level the Surface
Next, you’ll want to ensure that the surface of your padel court is level. Use a leveling tool or a long plank with a level to check the evenness of the ground. This step is crucial for a professional playing experience, so take your time here.
Step 5: Build the Walls
Now it’s time to construct the walls of your padel court. A cost-effective option is to use metal mesh or netting. Measure the height of the walls, ensuring they are at least 3 meters high. Secure the mesh or netting firmly to sturdy poles or a frame to create a boundary that keeps the ball within the court.
Step 6: Install the Fencing
Once the walls are in place, you’ll want to install fencing around the court. This step is essential for safety and to prevent the ball from going out of play. Chain-link fencing is an affordable and durable option that will keep your padel court secure.
Step 7: Lay the Artificial Turf
The next step is to lay down the playing surface. Consider using artificial turf, which is cost-effective, low-maintenance, and provides excellent gameplay. Roll out the artificial turf over the prepared ground, ensuring it covers the entire playing area. Trim any excess and secure the edges to prevent movement.
Step 8: Add the Padel Equipment
Finally, it’s time to add the finishing touches to your padel court. Install the padel net and posts at the center of the court. Ensure the net is at the correct height, between 88cm and 92cm, and is securely fastened to the posts. Don’t forget to gather some quality padel rackets and balls to complete your setup.
Now you’re ready to enjoy your brand new padel court! Invite friends, family, and fellow padel enthusiasts for exciting matches and memorable moments. Remember to maintain your court regularly to ensure its longevity and optimal playing conditions.
Building a padel court on a budget is an achievable goal with the right planning and execution. By following this step-by-step guide, you’ll create a fantastic space for playing padel without breaking the bank. So, why wait? Get started on building your dream padel court today!


