Tools and Techniques for DIY Padel Gear Repair
3 min read
Tools and Techniques for DIY Padel Gear Repair
Greetings, fellow padel enthusiasts! Whether you’ve been smacking balls on the court for years or have just recently fallen in love with the sport, there’s one thing we can all agree on – accidents happen, and our beloved padel gear sometimes takes the brunt of it. Fear not, my friends, for today I shall impart upon you some valuable knowledge on how to fix broken padel gear yourself, using tools you probably already have lying around your humble abode. Get ready to channel your inner padel MacGyver!
Gather Your Arsenal
Before we embark on our padel gear repairing adventure, let’s gather the necessary tools. Luckily, you don’t need a fancy gadgetry lab or an array of specialized equipment. Here’s what you’ll need:
- Screwdriver set – both flathead and Phillips head.
- Electrical tape – various colors (because why not make it pretty?).
- Sandpaper – assorted grits from 100 to 600.
- Super glue – a trusty companion for any DIY project.
- Replacement grip – a quick fix for worn-out handles.
- Spare parts – just in case you need to replace anything.
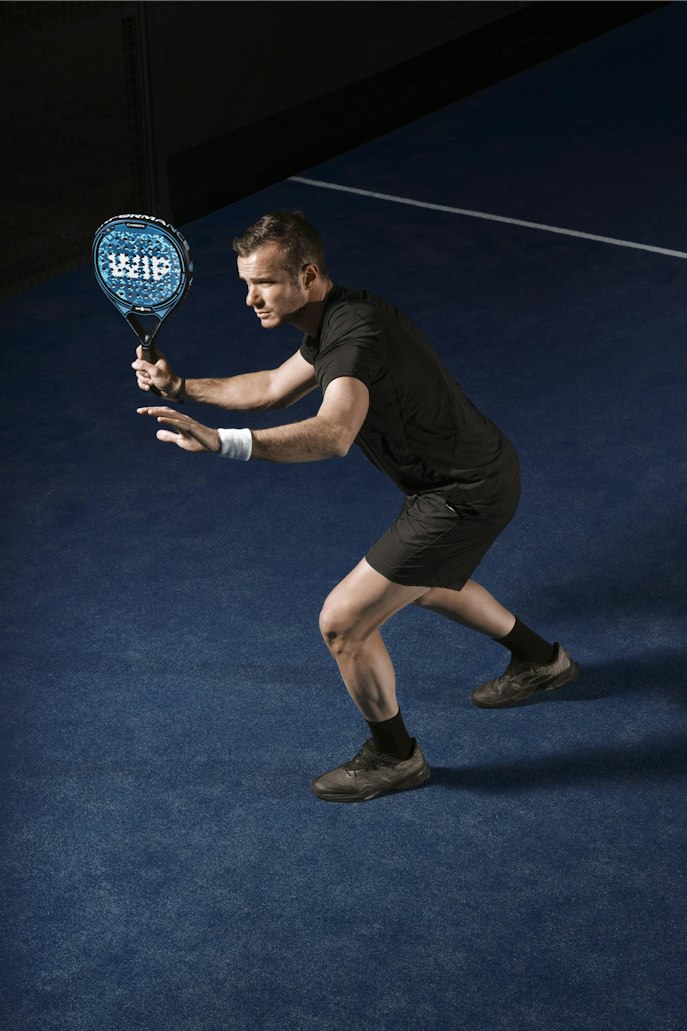
Repairing a Broken Padel Bat
Oh no! Your beloved padel bat has met an unfortunate fate, and now you’re left wondering how to fix it. Fear not, dear reader, for with a little patience and some elbow grease, you can have your bat looking and feeling as good as new.
If your bat has suffered damage to its frame, the first step is to assess the extent of the problem. Look for any cracks or breaks and use the sandpaper to smooth the area surrounding the damage. Apply a generous amount of super glue to the affected area, ensuring a tight bond. Use electrical tape to reinforce the bond, wrapping it tightly around the damaged section. Let it dry for a couple of hours before removing the tape and giving it a good sanding to even out any excess glue.
For a broken handle, you’ll need to remove the grip first to access the underlying layers. Carefully peel back the grip or slice it off using a sharp blade. Once the handle is exposed, give it a clean with some gentle soap and water. If you have a replacement grip, follow the manufacturer’s instructions to apply it properly. If not, wrap the handle tightly with electrical tape, ensuring a smooth and comfortable grip. Secure the tape with a final strip of electrical tape, and voila – your padel bat is good to go!
Fixing Your Padel Shoes
Now, let’s tackle the problem of worn-out padel shoes. After spending countless hours on the court, it’s only natural for the soles to wear down and lose their grip. Don’t fret, my friends! Rejuvenating your trusty kicks is easier than you think.
First off, give your shoes a good scrubbing to remove any dirt or debris. Once they’re squeaky clean, the next step is to repair the worn-out soles. Use sandpaper to even out any rough or uneven areas. Next, apply a thin layer of super glue to the worn-out spots and let it dry. To add some extra traction, carefully create shallow cuts or grooves on the sole using a sharp knife or utility blade.
For an added touch of personal flair, why not pimp your rides? Grab your electrical tape collection and let your creativity run wild. Use different colors to create patterns or designs on the sides of your shoes. Embrace your inner fashionista, and your padel shoes will be the talk of the court!
Conclusion
As padel players, we understand the bond we have with our gear. When something breaks, it can feel like a small part of us is lost. But fear not! Armed with these DIY padel gear repair techniques, you can fix just about anything that comes your way, saving both money and your beloved equipment.
Remember, though, some repairs may require the assistance of professionals, so always use your best judgment and don’t hesitate to seek help when needed. Now go forth, fellow padel MacGyvers, and let nothing stand in the way of your winning streak!