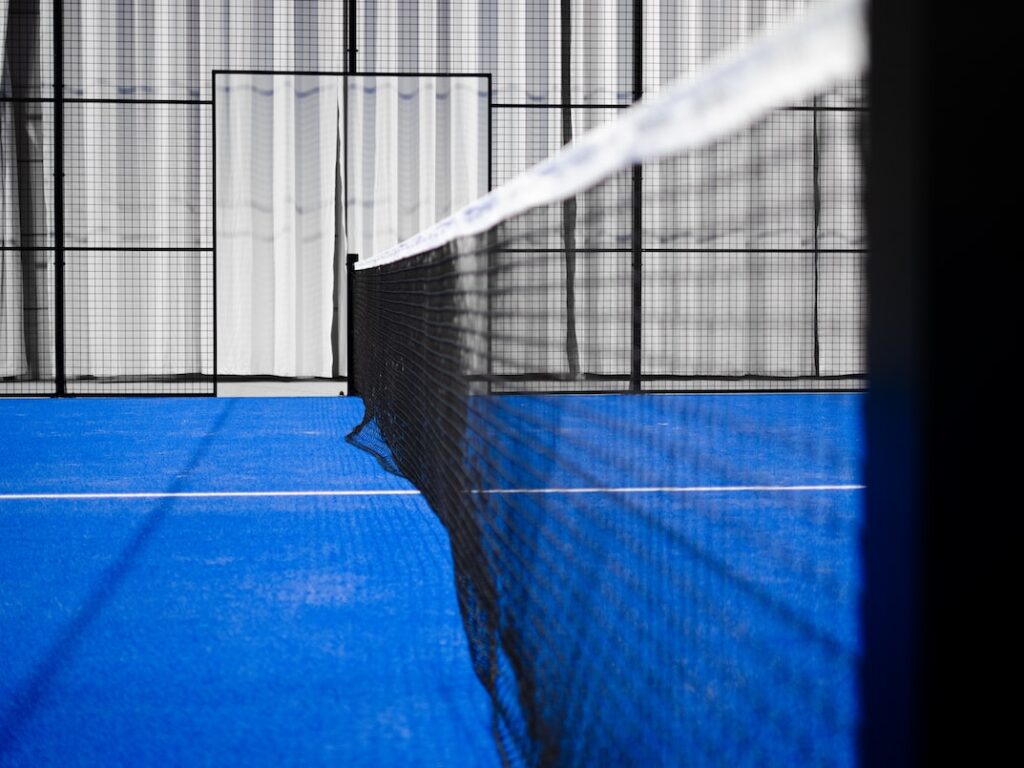
A Step-by-Step Guide: How to Install Padel Court Net Easily and Safely
2 min read
A Step-by-Step Guide: How to Install Padel Court Net Easily and Safely
Safely Install a Padel Court Net in Just a Few Easy Steps
Are you ready to take your padel game to the next level? Installing a padel court net is an essential step to bring the excitement of this fast-paced sport to your own backyard. In this step-by-step guide, we will walk you through the process of installing a padel court net easily and safely. So, grab your tools and let’s get started!
Step 1: Gather the Necessary Tools
Before diving into the installation process, you need to ensure you have all the required tools. Here’s a checklist for you:
- Padel court net
- Post supports
- Tape measure
- Level
- Screwdriver or drill
- Concrete mix
- Water
- Mixing container
- Shovel
Having these tools handy will make the installation process a breeze.
Step 2: Measure and Mark the Court Area
Now it’s time to find the perfect spot for your padel court and mark its dimensions. Measure the desired court area and mark the corners using stakes or paint. Ensure the space is even and suited for a padel court.
Step 3: Dig the Holes
Using a shovel, dig holes for the post supports at each corner of the court. Make sure the holes are deep enough to provide a stable foundation for the net. As a general guideline, aim for a depth of 2 feet.
Step 4: Prepare and Mix the Concrete
In a mixing container, combine the concrete mix with water according to the manufacturer’s instructions. Mix thoroughly until you achieve a smooth and semi-thick consistency. Make enough concrete to fill each hole approximately two-thirds of the way.
Step 5: Install the Post Supports
Place the post supports in each hole and use a level to ensure they are perfectly vertical. Slowly pour the mixed concrete into each hole, filling it to the top. Allow the concrete to set for the recommended time provided by the manufacturer.
Step 6: Attach the Padel Court Net
Once the concrete has fully cured, it’s time to attach the padel court net. Simply slide the net onto the post supports, making sure it is taut and aligned in the center of the court. Use a screwdriver or drill to secure the net to the supports if necessary.
Step 7: Test and Enjoy Your New Padel Court Net
Now that your padel court net is securely installed, it’s time to put it to the test. Grab your padel rackets, call your friends, and get ready for an exhilarating game. Remember to always follow the rules of the game and play safely.
In conclusion, installing a padel court net is a fairly simple process that can add immense enjoyment to your padel playing experience. By following this step-by-step guide, you can easily and safely install a padel court net in no time. Happy padel gaming!


